

Here we go! Laura from "Bugs and fishes" asked who would like to participate on her Crafty Christmas tutorial link-up. I enjoy tutorials and I also thought this would force me to have some kind of a little break. Yes, I am creating a lot but not blogging at the moment. (Truth to be told, my digi and I are not on the best terms anymore, she got a little senescent and forgets when to focus ^^)

If you know me and blog, then you won't be surprised with my choice of material: Polymer clay!
I want you to catch all the stars you want for christmas :)
Let's start with the basic material:
- Fimo or any other polymer clay
- cookie cutter
Everything else is optional or can be substituted, but here a little list of what else I like to use:
- knitting needles
- crafting scalpell / knife
- acrylic paints (from Reeves)
- Fimo shiny gloss
- paper towels / baby wipes
- everything to create pattern like stamps and molds
- GLITTER!

...in metallic pearl...!

...you can choose different star cookie cutter! Or cut your own shape with a knife...

Here you can see my collection of random things I used to create pattern. The nice thing with making these little stars is that you just need a simple star shape... and just anything lying around you!

Stamp and metall earrings...

Sugar cube, texture mold out of polymer clay and spices, air-drying clay with plant prints...

Plastic trash from the lab and clear stamps...

GLITTER! You can really use every kind of glitter. The highly expensive perfect pearls or even more expensive (but even greater) Kryolan make up glitter, holografic glitter from rico design... or just simple powder to make your own eye make up! This kind of powder is cheap and beautiful.

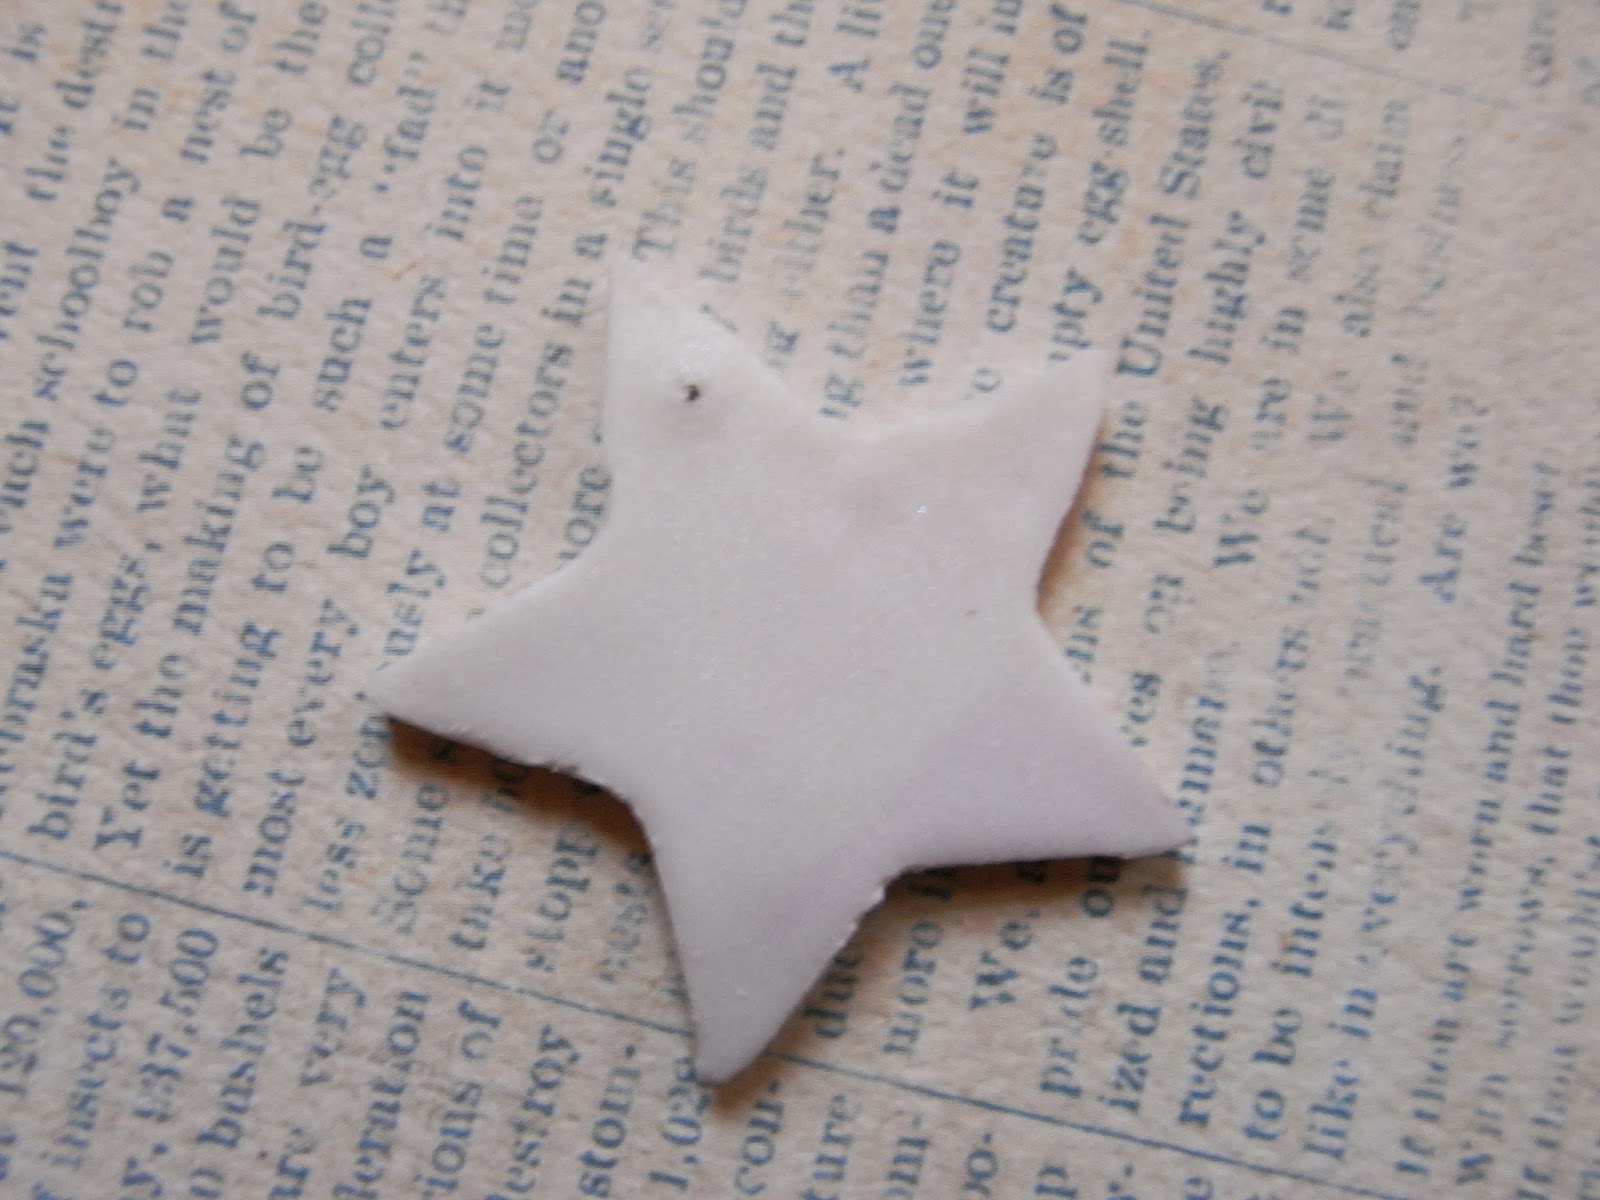
Mix you clay thoroughly and roll it out. Then use your cookie cutter to cut out your star!

Punch a hole with a knitting needle...

If you turn your star around you will see that the hole is not perfect...
Just carefully use the knitting needle to punch the hole also from the other side = perfect round hole!

Of course, what to do now? You may add glitter... press it in firmly!

Nothing shines as bright as Kryolan!

Stampes / pressed against an old earring...

Dots! Just made with plastic trash...

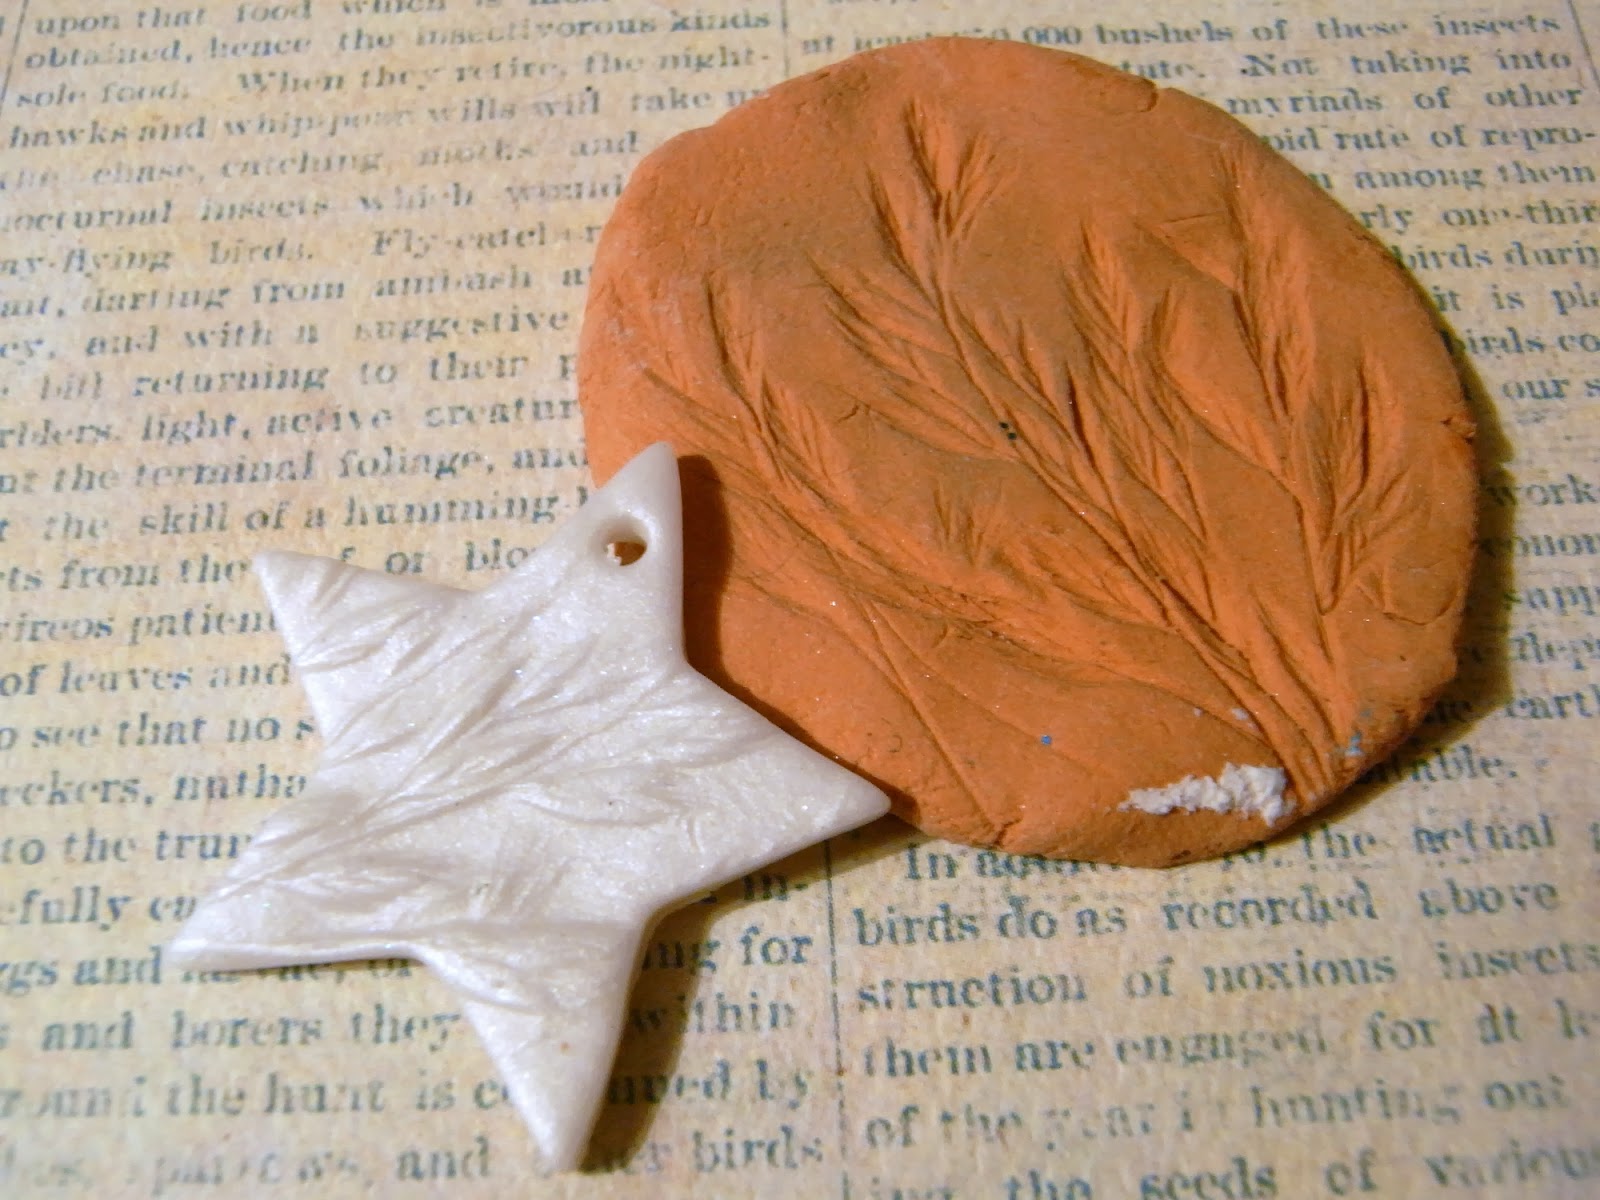
Cheap air-drying clay where I pressed in some plants... cheap to make, easy to use with polymer clay because it won't stick!
Another earring pattern...

Or roll the handle of a craft knife over the clay...!

Normal stamps are also working great! Here I used my nonsense english stamp from korea. My favorite ever!

More lab trash! Gorgeous geometric pattern... to think that it took me years to see this pattern...

You only need a knitting needle for this pattern!

Strangely enough sometimes all you need is a cube of sugar!

One of my pattern / texture molds made from polymer clay made with spices...

Also clear stamps work great (just be careful with clear stamps, clean them off very fast afterwards with a wet or baby wipe).

Already beautiful in this pearl shine!

And another image!

You could leave them like this but... I want to show you what else you can with all your stars!
(Edit: After you baked them :))

Okay, maybe you can see how often I use this acrylic paints. ^^
Paynes grey, raw umber, violett are my favorites but I used a lot more. I prefer acrylic paints from Reeves because they have a good quality and stick perfectly on polymer clay without being sticky or plastic like.
Hey, they even have great iridesent medium!

To make it short: Use good paints, not cheap ones (rather buy one less).
Now just cover your star with acrylic paint. Yes, make a mess!

Start wiping it off before it dries with paper towels and/or baby wipes...

Just try different colours... or even lay colour over colours (just wipe it always off in between).

Cut out a hole in the middle to create a different shape.

Can you see the different layers of colour?

Just find the star meant for you only :)

Have fun!
PS: To add more shine and to protect the surface you can add one or two layers of fimo shiny gloss :)


Gorgeous and so many other uses too :D
AntwortenLöschenLove these! Totally adore stars and I love the different patterns and textures you used.
AntwortenLöschenLove these! Totally adore stars and I love the different patterns and textures you used.
AntwortenLöschenThese are wonderful! Thanks for showing the process.
AntwortenLöschenThanks :)
LöschenThanks for sharing!! Do you bake the clay before or after painting it with acrylic?
AntwortenLöschenI bake the clay before I paint it. You could also sand, drill o even carve the polymer clay after baking if you want to! :)
LöschenSo nice! Starry starry post, thank you for all the beautiful detailed photos!
AntwortenLöschenI love all the different textures you played with on the stars! I'd have to say the purple one with the tiny dots is my favourite :)
AntwortenLöschenThanks :) It is also one of my favorites (I always love to work with dots and polymer clay) :)
Löschenlove the texture of these stars. Thanks for sharing. Jumbleberries. Xx
AntwortenLöschenThanks you :)
AntwortenLöschenI like these a lot...
AntwortenLöschen